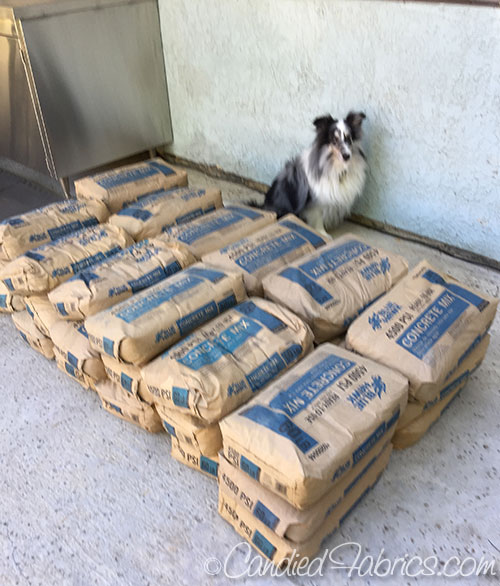
I haven’t shared a brick oven pizza oven progress post with you in awhile, but hubby has been plugging away at it!!! After building a form and putting 1000 pounds of gravel in the bottom, he had to go buy a ton of concrete; that’s a literal ton, not a figurative ton! Doesn’t look like much here, Stirling was not impressed! 😉
After putting rebar in the mold, lifted up off the gravel with spaces, Hubby rented a mini mixer and started mixing, then shoveling the concrete into the form:

It’s shady in this corner of the yard in the morning, but unfortunately it was full sun by the time the form was full and we had to smooth the top flat:

I’m not helping very much at all with this project; my hands just don’t have the strength to pick this stuff up, but I could man the other end of a 2 x 4 while we dragged it across the concrete, then use a float to smooth it out. Note: we didn’t have to be too fussy about this step as this is just the foundation for the rest of the oven.
Next, it was time for 1/2 ton of concrete block, hubby chose a cool afternoon to get that stuff moved from the truck in the front of the house to out back:
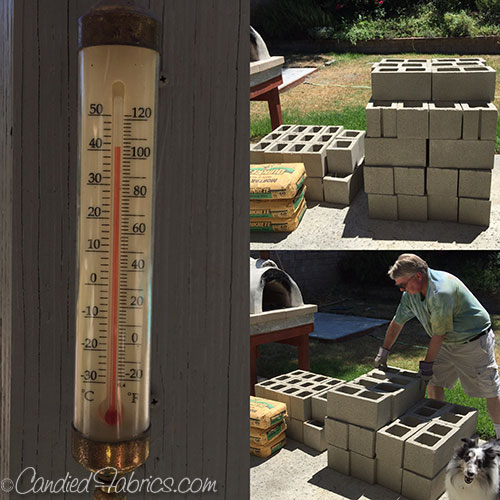
Stirling was the only helper for this step. Liam was already in Nashville and Logan gave up after like 2 blocks. 🙁
Next, he used the blocks to form the base of the oven:
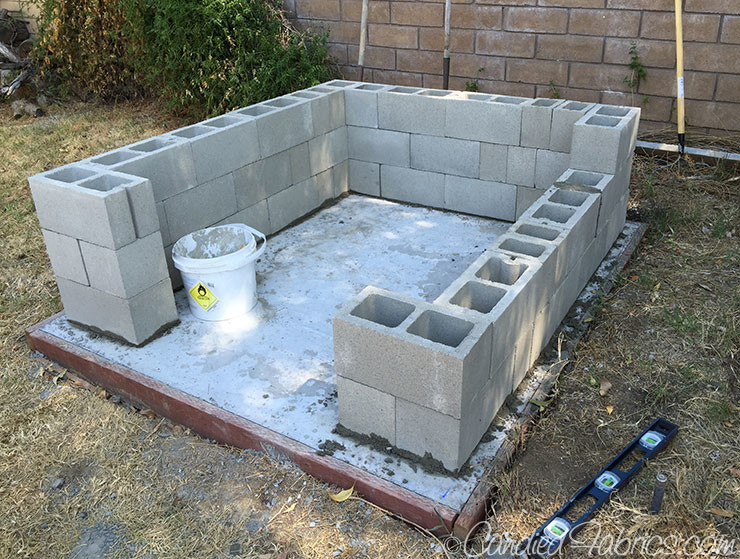
That open space in the middle is so that we can store firewood underneath. This metal bar will help hold the next layer up:

After the blocks were all stacked together, Andrew mixed more concreted and poured it down the holes, making columns of concrete within the blocks, adding rebar to the center of each column for stiffness.
Next, he built a form for another concrete pad across this base:
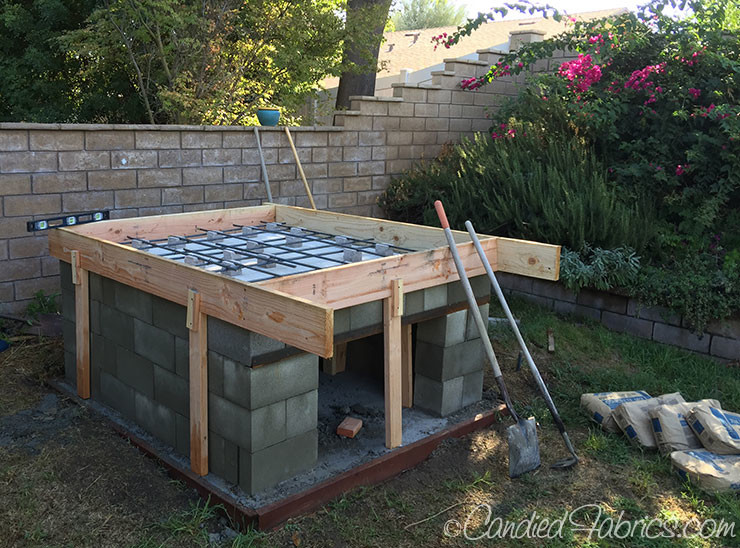
There’s pieces of cement backerboard that go across the hole in the center. You can see more rebar sitting on top of concrete spaces down below, this will add strength and stability to this layer. There’s a temporary set of 2×4 braces underneath to hold the backerboard in place while he pours another ton of concrete into the form.
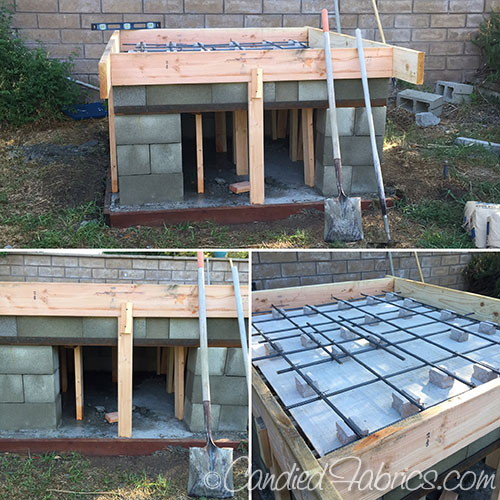
This layer only fills half the height of the form, this is the support layer. Once this layer cures, he’ll fill the form the rest of the way with a layer of insulating concrete; this way the heat of the fire doesn’t transfer to the ENTIRE structure, if it did it would take forever to get the actual oven hot. Also, heat ruins the structural integrity of concrete.
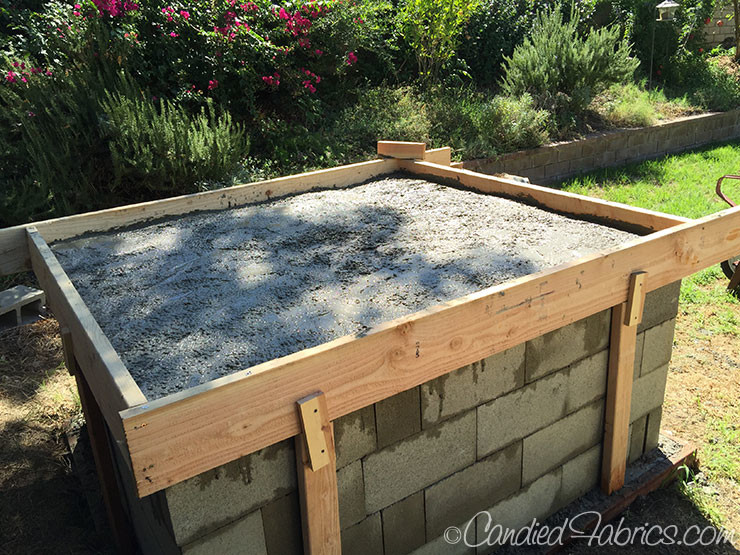
Hubby did this layer last Saturday, so now we’re up to date! As I say on Instagram, this is a perfect example of #slowfood. #reallyslowfood !
If you’re interested to learn more, the Forno Bravo has all sorts of information on brick ovens, and a set of free plans if you feel like making one like Hubby is! And you can make some that are much smaller, like this one we built several years ago.
2 Responses
I’m reading along and thinking that this pizza oven will last FOREVER … but then I wondered, what about earthquakes? Will the rebar keep it together?
Have you posted the finished pizza oven? I’d love to see the rest.